I recently started doing restoration work, and I have to say, it's very relaxing and enjoyable to try to bring a photo back to its full glory. Since calmness is an important commodity right now, when I'm feeling a little bit anxious, I head to the studio to work on photos, and often pull up those that need restoring.
STOP Talking and Tell Us What We Came Here To Hear!
In most cases, it is possible to save a photo, but there are some things you need to consider about the process.
(1) It would not be possible if Photoshop or some type of creative program were not in my bag of tricks.
(2) Cell phone resolution (pixels) can be very different from camera resolution in terms of printable images.
(3) Most people take cell phone or tablet photos at 72 dpi. I print images at 240 - 300 dpi (dots per inch).
(4) Photoshop uses the term ppi (pixels per inch) to describe this same phenomenon.
(5) I never turn down a challenge.
So, What Did You Do?
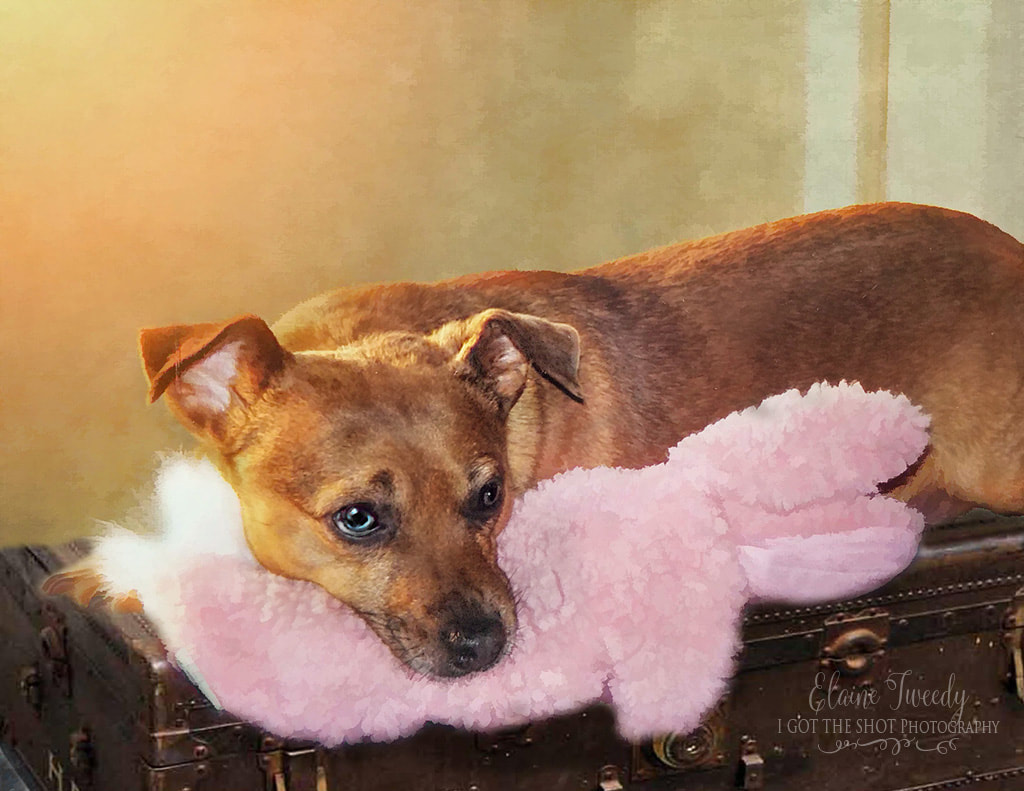
I brought the resolution up to see how badly noise and other factors might affect the image, then painted the image to add back some of the lost pixels, replaced the background with my own creation, found a suitcase in stock photos that worked, and placed the pup on the suitcase. The bunny was in the original photo and I did very little to it, except bring it out of darkness and add some painterly strokes. I think the bunny's tail is still a bit bright, and if I had it to do again, I would tone it down.
This image is now framed, displayed, and cherished, as the pup has passed on to the spirit world. The owner was so grateful for the new image, and I am grateful she finally took it off her cell phone and had it restored and printed.
But Can You Save This One?
Since this week's blog is about "before" and "after," let me show you some significant changes to another image I worked on, one that I still have both the before and after of in my folders.
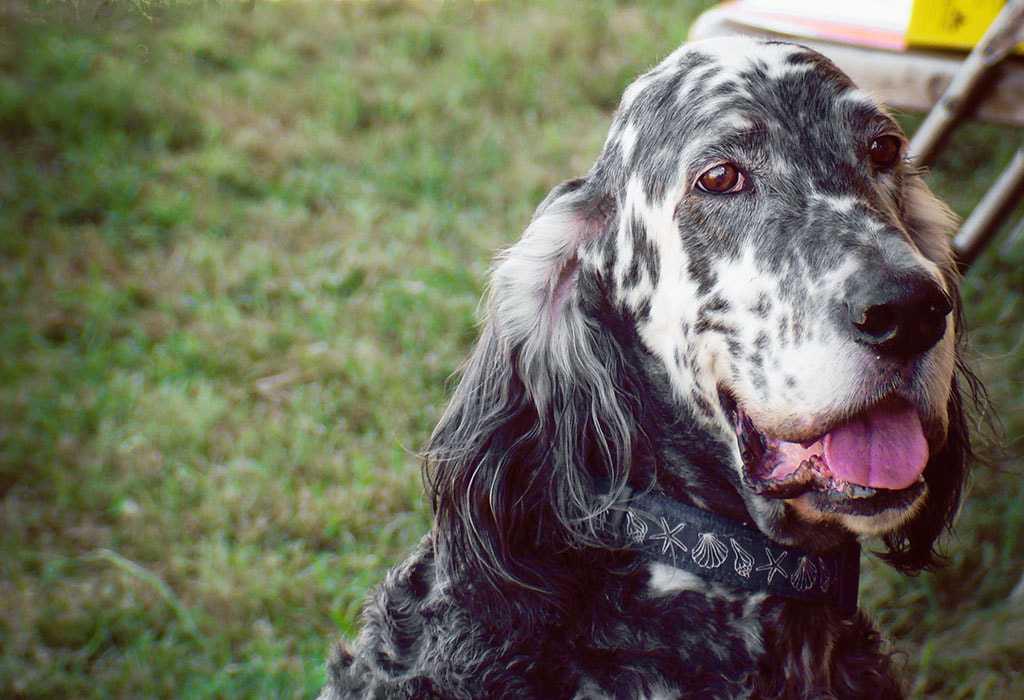
Here is the BEFORE, another cell phone photo.
(1) too dark in many areas (exposure is incorrect, possibly caused by sunlight or other light source)
(2) colors are off (and maybe even some sort of filter was applied)
(3) dog is too close to the right side of the frame
(4) items in the background are distracting
(5) the background itself is not pleasing to the eye.
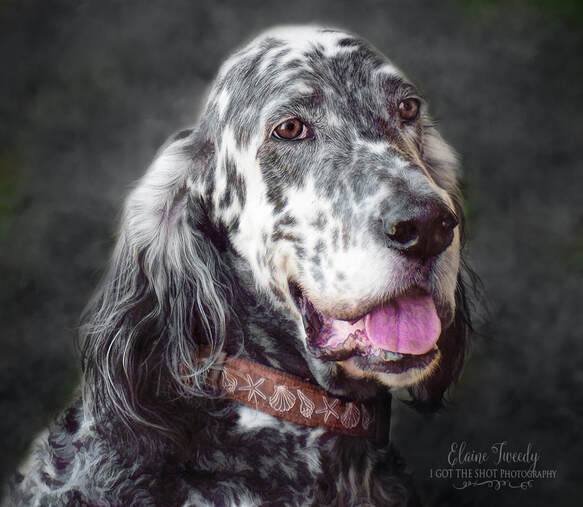
Below is the AFTER.
I think you will agree, that this image has been saved, is framable and can now be printed (it will retain its quality in printing).
Okay, But How About This One?
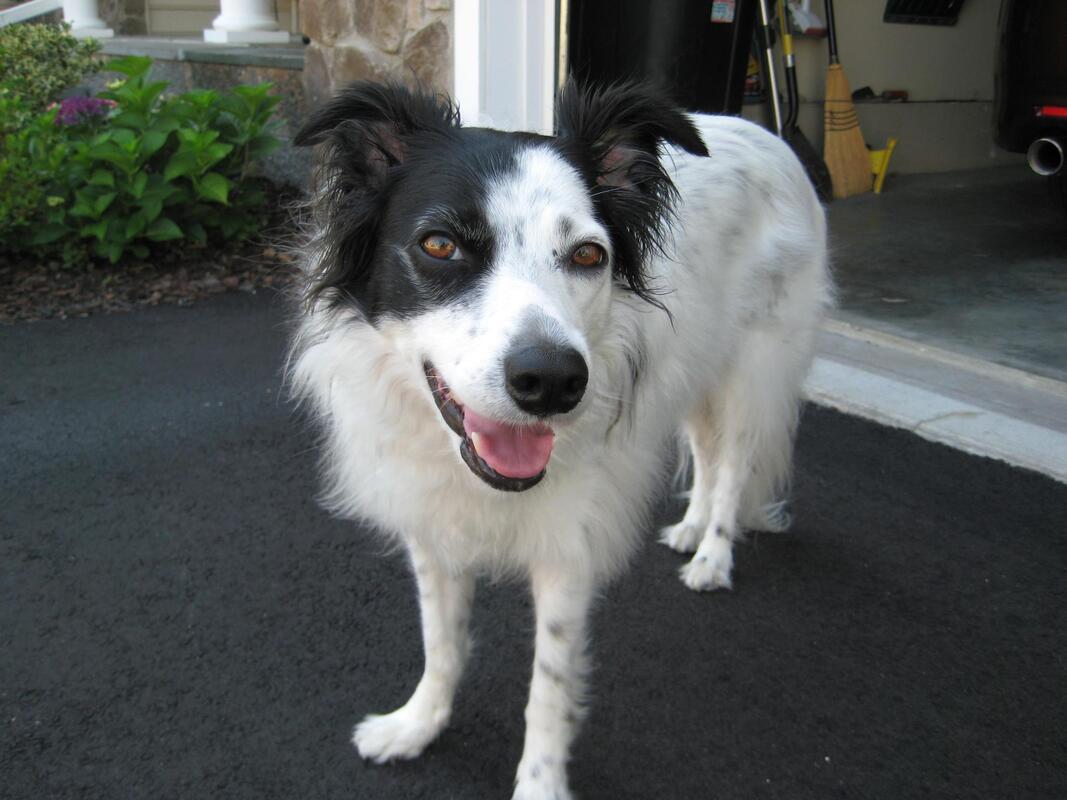
The final image is one that came from a Facebook photo. The original image is of a pup I admired and followed on Facebook for a long time, until she passed on. Her owner is a lovely person, and I felt very sad for her. They had a tremendous bond. So I redid this image specifically to honor her dog.
The original image is below. It is not a bad image at all, but the background is a bit distracting, and the lighting on the dog makes it hard to see the left eye.
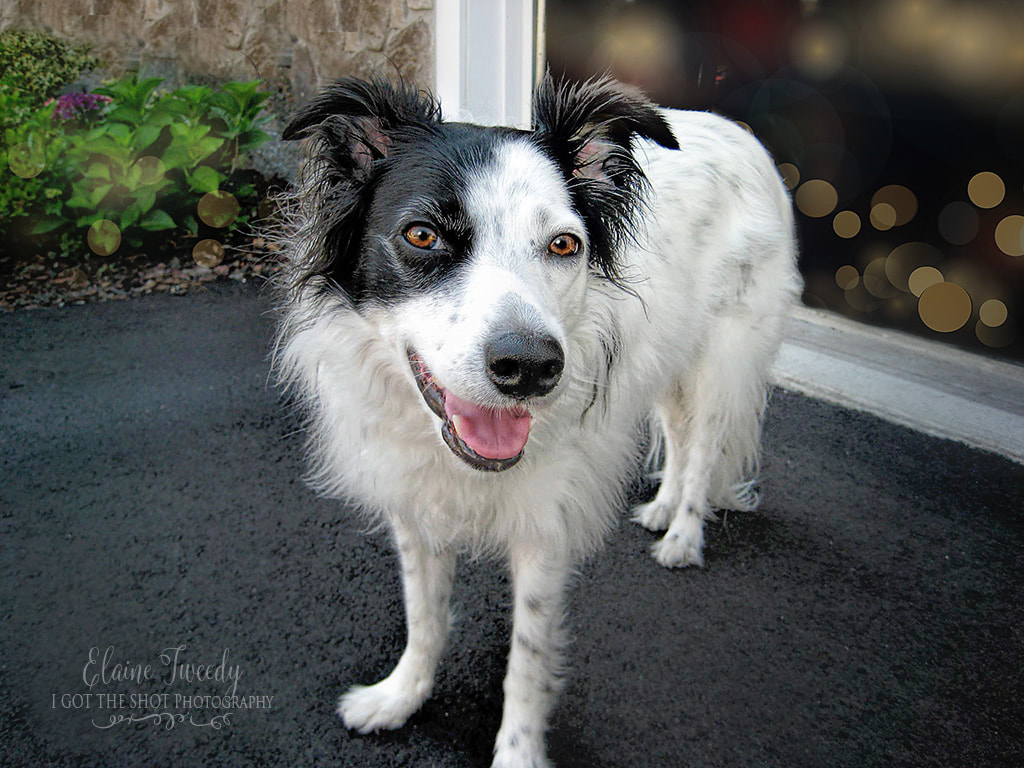
The final image is here.
I am doing more and more of this work right now, as we strive to remain home and safe from corona virus. If you have a photo you would like restored or improved to printable quality, give me a yell! I will give you my honest opinion on restoring it (what needs to be done), based on a review of the photo, its current resolution and how I think it could be improved.
To see more of our group of talented photographers approach the before/after theme, head over to the blog circle, starting with Terri J Photography, photographing pets and their families in Toronto and Ontario. Look for the links at the bottom of each blog to move to the next. Enjoy!
 RSS Feed