In reading my text for this go round, I felt like I had just bought a piece of photography equipment from a foreign country and was trying to understand the instructions that came with it. I'm sure you have been there. Things like: "pin in not open hole and turn." What? Is there a visual or a YouTube video that comes with that?
I actually read the chapter three times, worried a little, then did some research. Turns out I HAVE been doing many of the things covered in the reading, but not really thinking about it in the same terms.
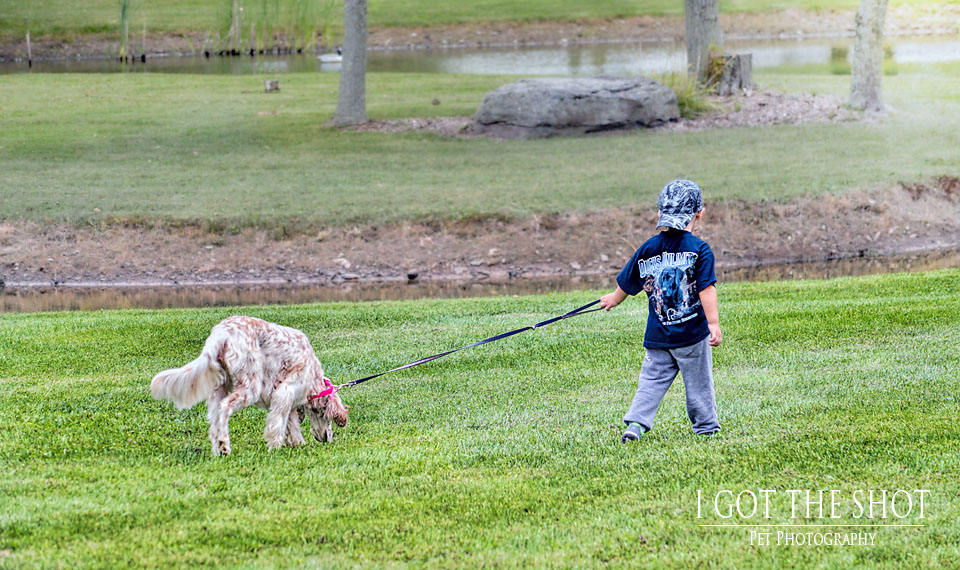
As a photographer, I make a decision every time I take and process a photo - will it be balanced or imbalanced? Luke's photo above would be considered "perfectly balanced" as the left and right portions are weighted evenly and Luke is smack dab in the middle. (You remember weighing an image, right? If not, go back and read visual mass.)
I borrowed this drawing from photographylife.com to give you a visual.
It's when you skew an image to one side or the other, that the image is said to become "tense." A nice, balanced image is often a serene, calming image for the viewer, because they don't have to work much visually to figure out where they need to look. An image that is pulled to one side or the other, may provide tension for the viewer in terms of "which way do I look" or "where should I focus?" By the way, this is GOOD tension, not BAD tension.
I recently both heard, read, and was reminded again of the order in which adjectives should appear when describing a noun. I am SURE you have seen this on Facebook or other social media venues. The order: opinion, size, physical quality, shape, age, color, origin, material, type, purpose. I don't think about this much when I speak or write, but somehow, I know when I describe things, adjectives are falling into the correct order--probably because I did listen in English class.
Well, there is a list of things that attract viewers to a photo. It goes like this: contrast, focus, bright spots, saturation, warm colors, large items, people/animals, eyes, the direction in which your subject is looking. The weight placed on these things will vary from photographer to photographer and viewer to viewer. AND, we have to be careful not to cancel out what we want the viewer to look at by using too many of these things at the same level. This list is not comprehensive, but these items can be used to help balance a photo.
Okay, if you made it this far without any help from an alcoholic beverage, you are my hero. Believe me, I've tried to make this A LOT SIMPLER than the chapter.
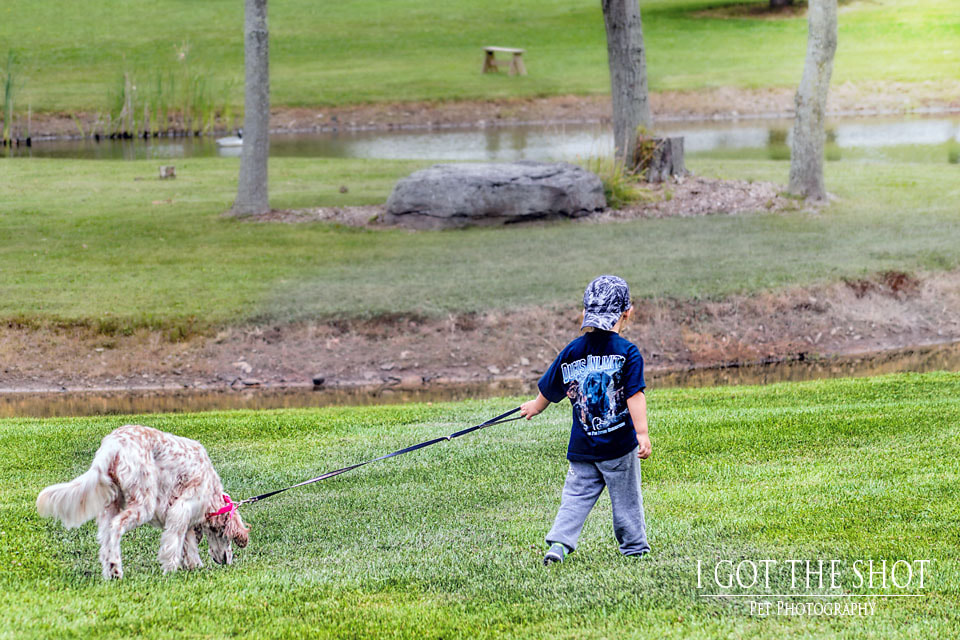
So now I have one more thing to show you. It's the difference between static and dynamic balance. Here are two versions of the same image.
And now I'll leave you with this thought for your Friday: "Not in push up when held." Have a great weekend and don't buy items from foreign countries until you get to first see the directions! (The instructions in this blog are real. No human or piece of equipment was hurt in the process of putting it together.)
For more about balance, start this week's blog circle with Darlene of Pant the Town Pet Photography serving Massachusetts and New Hampshire.


 RSS Feed